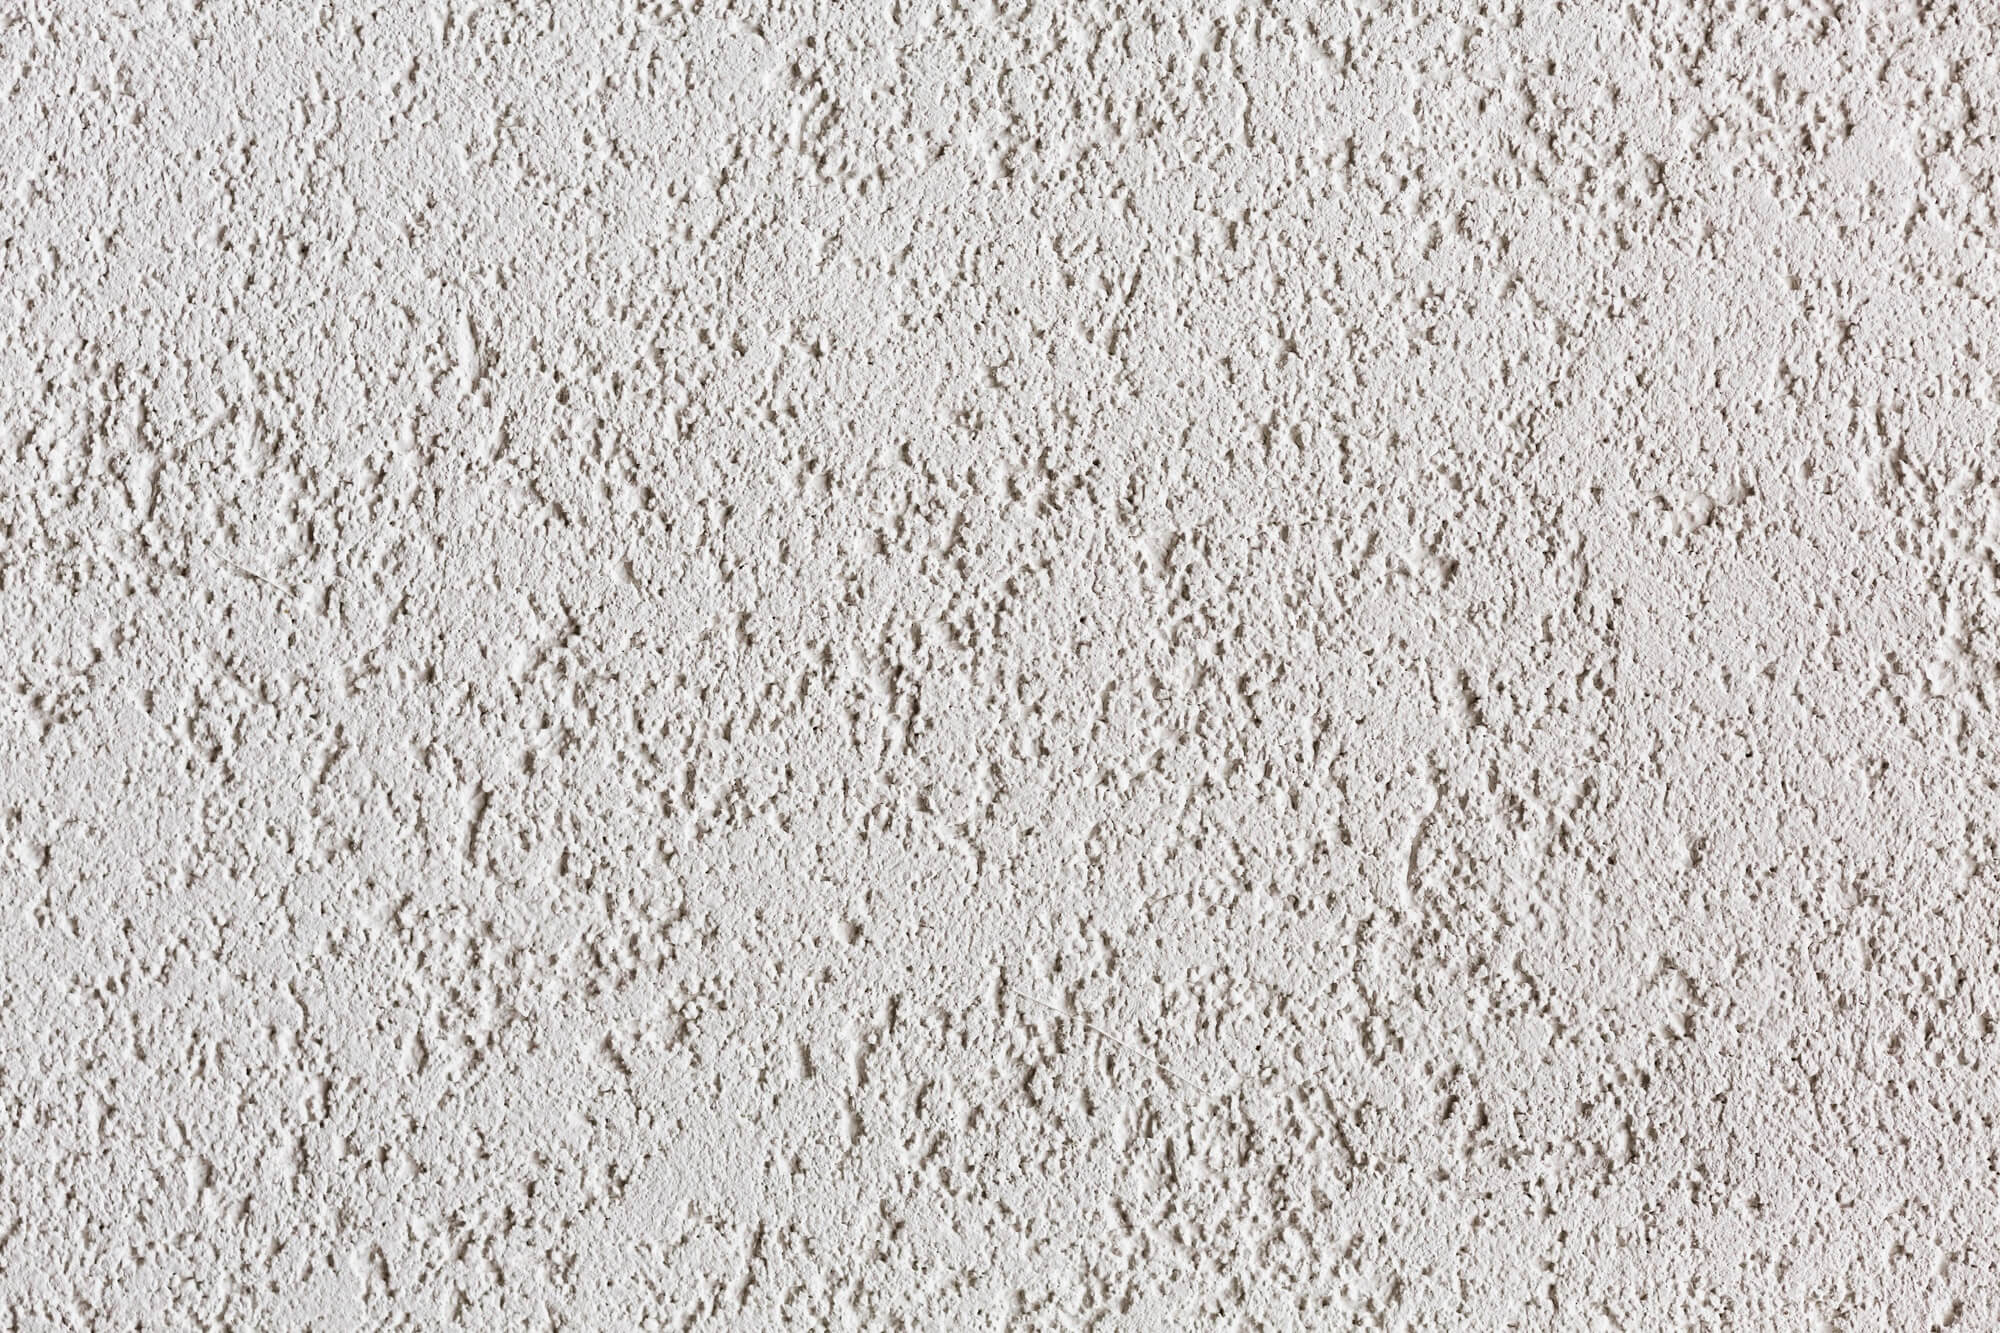
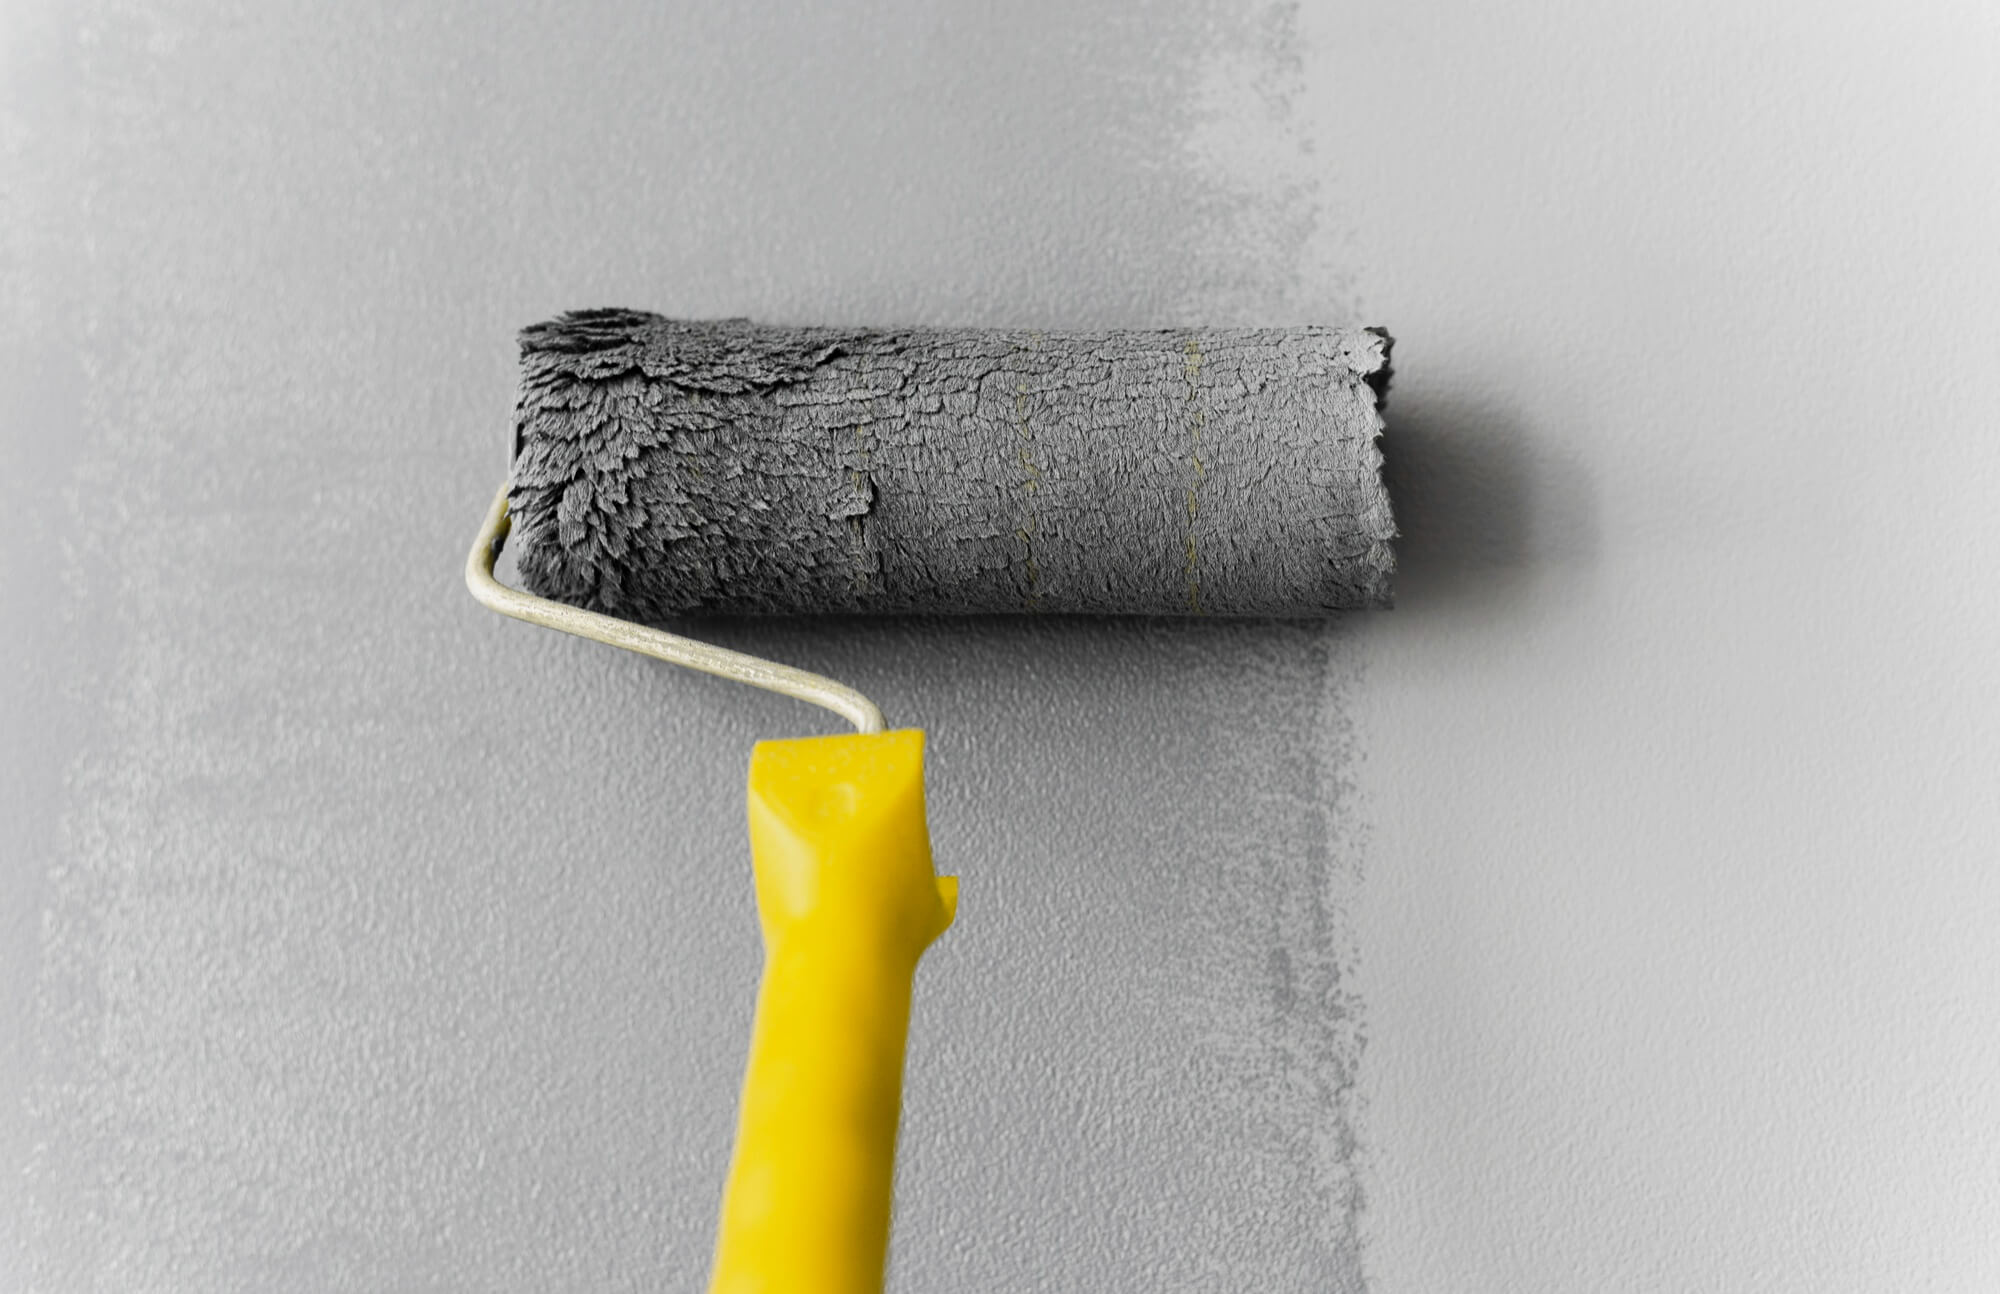
Painting a rendered or textured wall can be challenging, but with the right tools, techniques, and patience, you can achieve a professional-looking result. In this article, we shall guide you through the process of painting a textured wall, from preparation to finishing touches, brought to you by the experts at Weiler Painting.
Step 1: Gather Your Materials and Tools
Before starting the painting process, gather the necessary materials and tools to make the task easier:
• Drop cloths or plastic sheeting
• Painter’s tape
• Paintbrushes (a variety of sizes, including an angled brush for cutting in)
• Paint rollers (with a long nap for textured surfaces)
• Extension pole for the roller
• Paint tray
• A high-quality paint suitable for textured surfaces
• Primer (if required)
Step 2: Prepare the Surface
Proper surface preparation is crucial for a smooth, long-lasting paint job on textured walls.
• Clean the walls: Remove any dust, dirt, or debris from the wall using a soft brush or vacuum cleaner with a brush attachment.
• Repair any damage: If you find any cracks or holes on the wall, use an appropriate filler to cover them up and wait until it dries out entirely.
• Apply primer (if needed): If the wall has never been painted or has a dark color that you want to cover, apply a primer suitable for textured surfaces. Allow it to dry according to the manufacturer’s instructions.
Step 3: Tape Off Adjacent Surfaces
Using painter’s tape is essential to create a clean and precise finish when painting a textured wall. Begin by taping off adjacent surfaces, such as baseboards, trim, window and door frames, and any other areas you want to protect from paint splatters. Press the tape down firmly along the borders, ensuring it adheres securely to prevent paint from seeping underneath. Extra care during this step will result in sharp, clean lines and a professional-looking paint job without damaging the surrounding surfaces.
Step 4: Start Painting
With the preparation complete, you can start painting the textured wall.
• Cut in the edges: Use an angled brush to carefully paint around the edges, corners, and fixtures or fittings. It will create a clean border for the roller to work up to without overlapping.
• Apply paint with a roller: Dip it into the paint tray, ensuring it’s evenly coated, and remove any excess dye. Using an extension pole, start at the top of the wall and work your way down, using a zigzag pattern to cover the entire surface. Press lightly on the roller to ensure the paint reaches the textured crevices.
Step 5: Allow the Paint to Dry
After applying the initial coat of paint, please wait for it to dry according to the instructions provided by the manufacturer. Textured walls may require a longer drying time due to the uneven surface.
Step 6: Apply Additional Coats (If Necessary)
Depending on the color and texture, you may require to apply multiple coats of paint for full coverage. If a second coat is required, ensure that the first coat is dry before applying the second coat using the same technique.
Step 7: Remove Tape and Clean Up
After the final coat has dried, carefully remove the painter’s tape, ensuring not to damage the freshly painted surface. Dispose of any used materials and clean your brushes, rollers, and paint trays for future use.
In conclusion, painting a rendered or textured wall can be a challenging but rewarding project. By following these steps, you can achieve a professional-looking result that enhances the appearance of your space.


