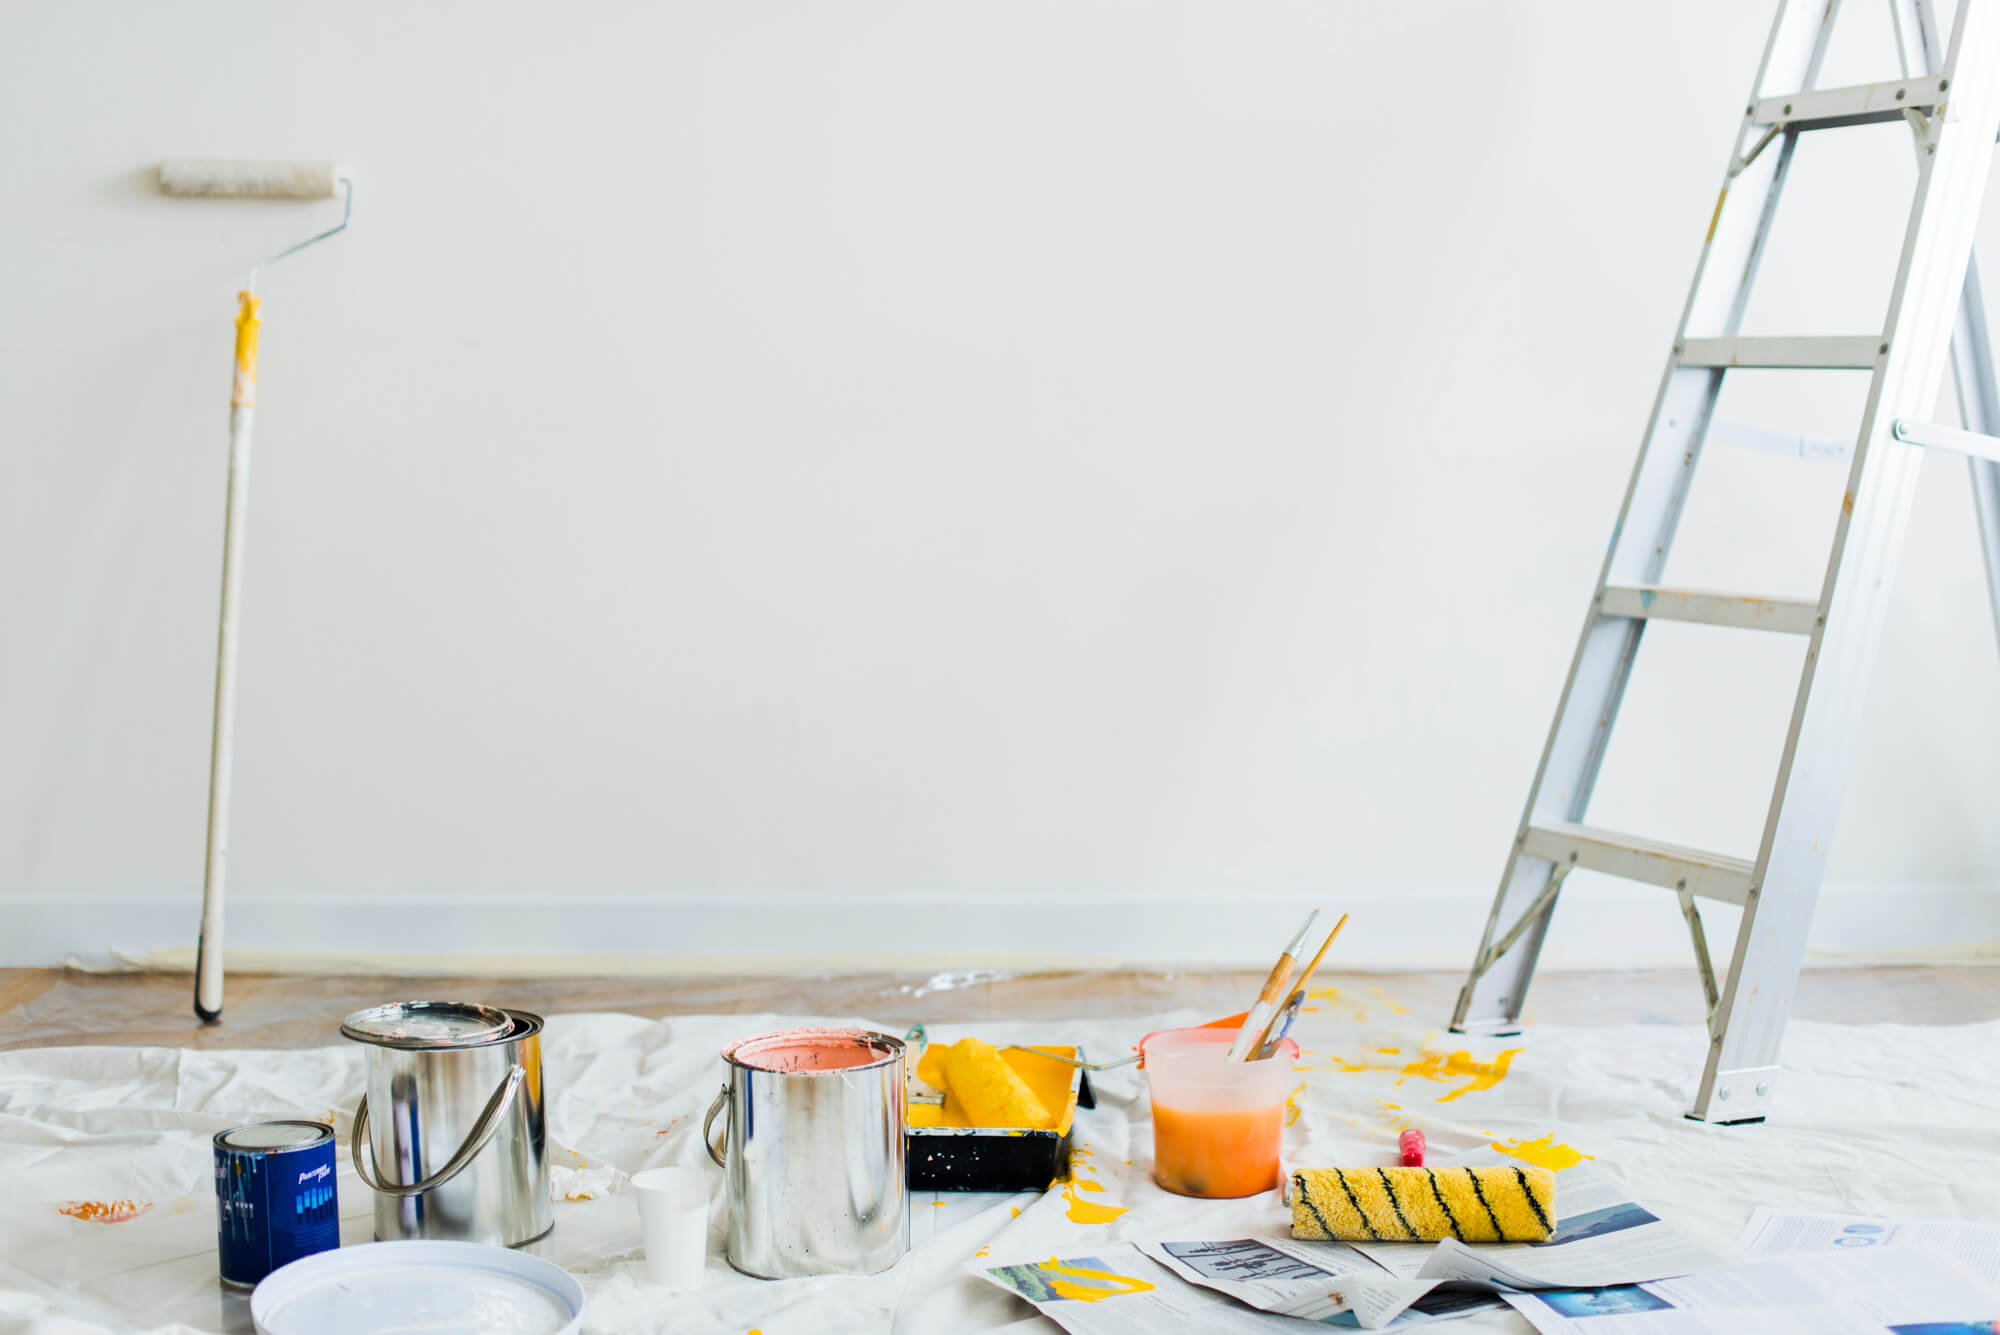
Painting a room may seem daunting, but following these seven steps with Weiler Painting can achieve a professional-looking result even as a DIY painter. These tips and techniques will ensure a smooth and successful painting project, from preparing the room to applying the final touches.
Step 1: Plan Your Project
Before you start painting, planning your project to ensure a successful outcome is crucial.
- Choose your paint color: Consider the room’s purpose, size, and lighting when selecting a paint color.
- Calculate how much paint you’ll need: Measure the room’s dimensions to estimate the paint required.
- Gather materials: In addition to paint, you’ll need brushes, rollers, trays, drop cloths, masking tape, and other tools.
Step 2: Prepare the Room
Properly preparing the room is essential for achieving a professional-quality finish.
- Remove furniture: Clear the room of furniture or shift it to the center and cover it with drop cloths.
- Protect floors: Lay down drop cloths or plastic sheeting to protect your floors from paint splatters.
- Clean the walls: Wash the walls with a mild detergent and water solution to clean dirt, grease, and dust.
Step 3: Repair Wall Imperfections
Addressing wall imperfections will ensure a smooth and even finish.
- Fill holes and cracks: Use a patching compound or putty to fill any holes or cracks in the walls.
- Sand the walls: Moot the compound using fine-grit sandpaper once the compound has dried.
- Wipe the walls: Remove any sanding dust by wiping the walls with a damp cloth or sponge.
Step4: Mask and Protect Surfaces
Masking and protecting surfaces will help you achieve clean, sharp lines and prevent damage to adjacent surfaces.
- Apply masking tape: Use painter’s tape to mask off trim, baseboards, window frames, and other areas you don’t want to paint.
- Protect fixtures and outlets: Remove or cover light fixtures and outlet covers to prevent paint from getting on them.
Step 5: Prime the Walls
Priming your walls is essential for several reasons:
- Improves paint adhesion: It helps the paint adhere better to the wall
- Blocks stains: It can prevent stains from bleeding through the paint
- Reduces the number of coats needed: It can help the paint cover more effectively
- Hiding previous colors: It can help to obscure the previous paint color
Apply a suitable primer to your walls, then let it dry completely before painting.
Step 6: Apply the Paint
Follow these tips for a smooth and even paint application:
- Start with the edges: Use a brush to cut around the room’s borders, including corners, trim, and baseboards.
- Roll the walls: Use a paint roller for the rest of the wall. Begin from top to bottom, using overlapping strokes.
- Apply multiple coats: If necessary, apply additional coats for full coverage, allowing each coat to dry according to the manufacturer’s instructions.
Step 7: Clean Up and Enjoy Your New Space
When the paint is dry, it’s time to clean up and enjoy your freshly painted room.
- Remove masking tape: Carefully peel off the painter’s tape, pulling it away from the painted surface at a 45-degree angle.
- Reinstall fixtures and outlet covers: Replace any removed light fixtures or outlet covers.
- Clean your tools: Clean brushes, rollers, and trays according to the paint manufacturer’s instructions.
- Dispose of paint waste responsibly: Follow local regulations for disposing of paint waste and used materials.
Following these seven steps of interior wall painting tips and techniques, you can achieve a professional-looking result as a DIY painter with some planning, preparation, and attention to detail.


